phina.jsをかじる
enchant.jsをかじってみようかと思ったけど終了しているようなので、phina.jsをかじってみた。

enchant.jsより軽いらしい。公式のページはきれいなので期待したのだが、入門的な基礎知識やチュートリアルが見当たらなかった。Tutorialをクリックするとブログに飛んでしまう。おそらく次のページがチュートリアルのようだ。メンテナンスされていないのかもしれない。

図形を表示しよう
図形を表示するのが最初のチュートリアルのようなので試す。runstantでサンプルコードがみれるようだ。だが、すべての形のコードはなかった。Shapeのoptionsも何があるのかわからない。Docsに説明があることを期待したが、ソースがみれるようだ。ん~、ソースを読んで書いてねってことかな。ん~…
ということでググる。
![[phina.js]基本 - 色んな図形オブジェクトについて - ほろほろりドットコム](https://blog.t-haku.com/wp-content/uploads/luxe-blogcard/a/a53ff626ec348d2ffcc40649440517c9.png)
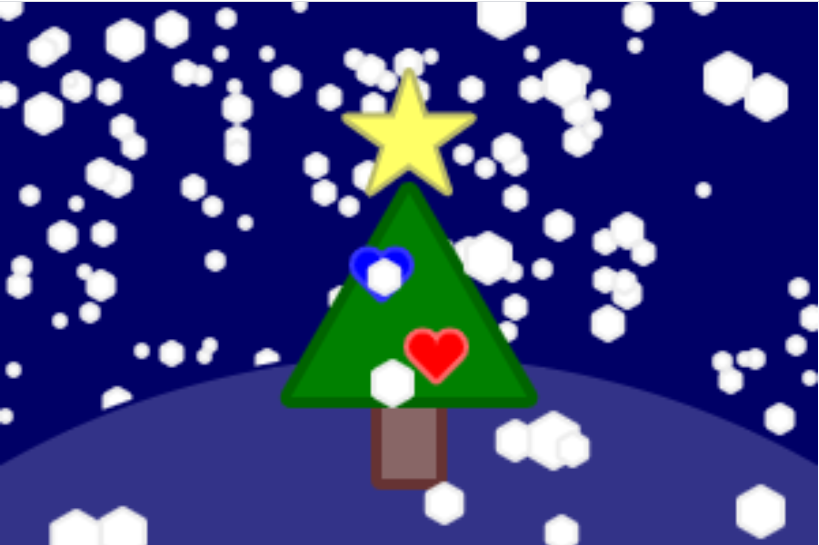
そうそう、こういうページを期待していたのだよ。optionsを説明してくれている。ということで試してみる。Shapeを色々配置してみた。
index.html
<!doctype html>

<html>
  <head>
    <meta charset='utf-8' />
    <meta name="viewport" content="width=device-width, user-scalable=no" />
    <meta name="apple-mobile-web-app-capable" content="yes" />

    <title>Getting started | phina.js</title>
    <!-- phina.js を読み込む -->
    <script src='https://cdn.jsdelivr.net/gh/phi-jp/phina.js@0.2.3/build/phina.js'></script>

    <!-- メイン処理 -->
    <script src='main.js'></script>
  </head>
  <body>

  </body>
</html>
main.js
/*
 * runstant
 */

phina.globalize();

phina.define('MainScene', {
  superClass: 'CanvasScene',

  init: function() {
    this.superInit();
    this.backgroundColor = '#006';

  // ポリゴンを表示
    for (let i = 0; i < 200; ++i) {
      let polygon = PolygonShape();
      polygon.x = Math.floor(Math.random() * 300);
      polygon.y = Math.floor(Math.random() * 200);
      polygon.radius = Math.floor(Math.random() * 5);
      polygon.sides = 6;
      polygon.fill = 'white';
      polygon.stroke = '#eee';
      polygon.addChildTo(this);
    }

    // 円を表示
    CircleShape({
      x: 150,
      y: 430,
      radius:300,
      stroke: '#006',
      fill:'#338'
    }).addChildTo(this);

    // 四角形を表示
    RectangleShape({
      x: 150,
      y: 150,
      width: 20,
      height: 50,
      fill: '#866',
      stroke:'#633',
      strokeWidth: 8
    }).addChildTo(this);

    // スターを表示
    StarShape({
      x: 150,
      y: 50,
      radius: 24,
      fill:'#ff6',
      stroke:'#bb6'
    }).addChildTo(this);

    // 三角を表示
    TriangleShape({
      radius:50,
      x:150,
      y:120,
      fill:'green',
      stroke: 'darkgreen',
      strokeWidth: 8
    }).addChildTo(this);

    // ハートを表示
    HeartShape({
     x:160,
     y:130,
     radius:10,
     fill:'red',
     stroke: '#f66'
    }).addChildTo(this);

    HeartShape({
     x:140,
     y:100,
     radius:10,
     fill:'blue',
     stroke: '#33f'
    }).addChildTo(this);

  // ポリゴンを表示
    for (let i = 0; i < 20; ++i) {
      let polygon = PolygonShape();
      polygon.x = Math.floor(Math.random() * 300);
      polygon.y = Math.floor(Math.random() * 200);
      polygon.radius = Math.floor(Math.random() * 5 + 5);
      polygon.sides = 6;
      polygon.fill = 'white';
      polygon.stroke = '#eee';
      polygon.addChildTo(this);
    }

  },
});

phina.main(function() {
  var app = GameApp({
    startLabel: 'main',
    width: 300,
    height: 200
  });

  app.run();
});
See the Pen mdrEzEZ by haku (@t-haku) on CodePen.
乱数を使ったが思ったほどばらけなかった。
なんとなく書き方がわかったけど、親切なドキュメントが欲しいな。
index.htmlはphina.jsを読み込み、main.jsを読み込むためのもの。これが基本のスタイルのようだ。
main.jsではやりたい機能に合った基底クラスを指定して派生クラスを作っていくようだ。ただ、やりたいときに何の基底クラスを指定したらいいのかの調べ方がよくわからない。色々サンプルを見ていくしかないようだ。Docsの該当Shapeのソースを見るとoptionsがわかるようだ。ん~…。まぁ、とりあえず、しばらくチュートリアルをしてみようかな。
| 基底クラス | 用途 |
|---|---|
| CanvasScene | Shapeを表示できる。 |
この後DisplaySceneがあったのでCanvasSceneと何が違うのか調べてみたらCanvasSceneは非推奨でDisplaySceneを使うことになっているようだ。phina.jsの中を覗くとCanvasSceneはDisplaySceneの派生クラスになっていて使うとConsoleに警告が表示されるようになっている。
  phina.define('phina.display.CanvasScene', {
    superClass: 'phina.display.DisplayScene',

    init: function(options) {
      this.superInit(options);

      console.warn('[phina warn] CanvasScene は非推奨になりました. DisplayScene をお使いください.');
    }
  });